
Background:
Skylights (or light pipes) are a great way to get natural sunlight indoors.
Unfortunately, installation is moderately complicated and is infeasible for renters and high-rise dwellers.
Also, skylights only provide light during the daytime (unsurprisingly).
Proposal:
Thanks to LED lighting, it is possible to create a convincing “artificial skylight” (Figure 1) for 50 American dollars (~4 hours of of 2021 California minimum wage).
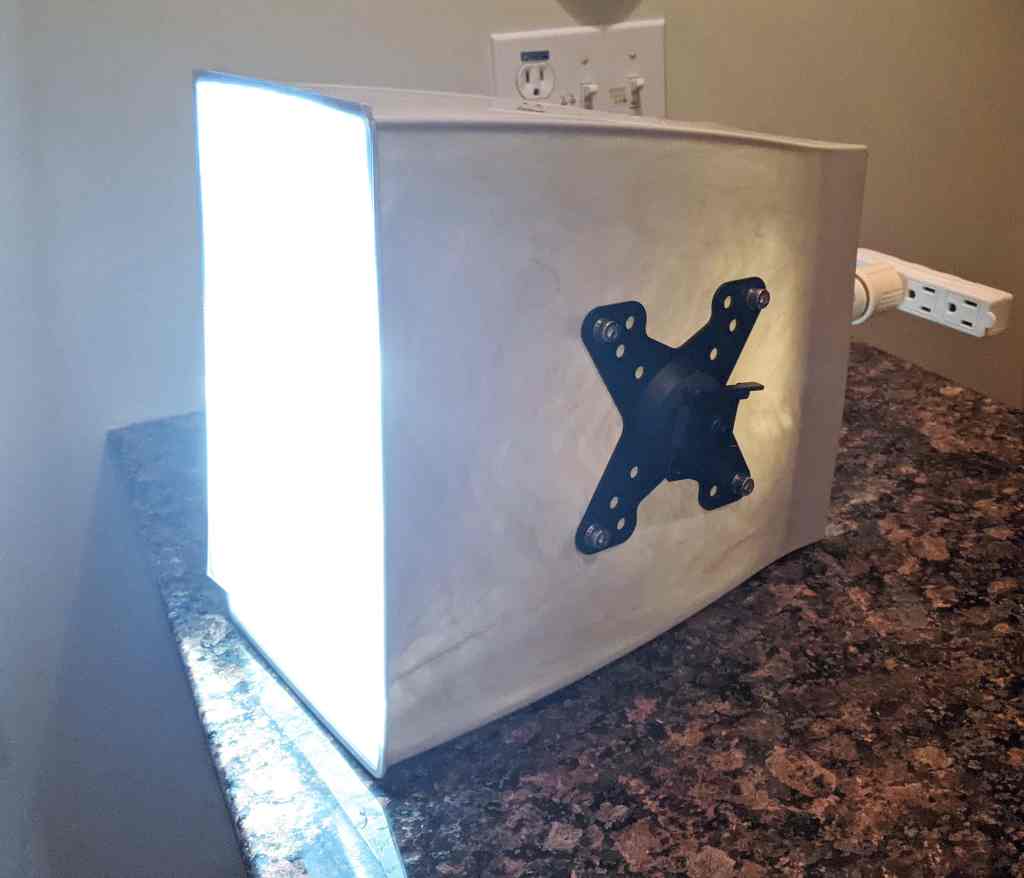
The actual application of this light looks surprisingly convincing: in a dark environment, relatively little wattage is required to simulate sunlight.

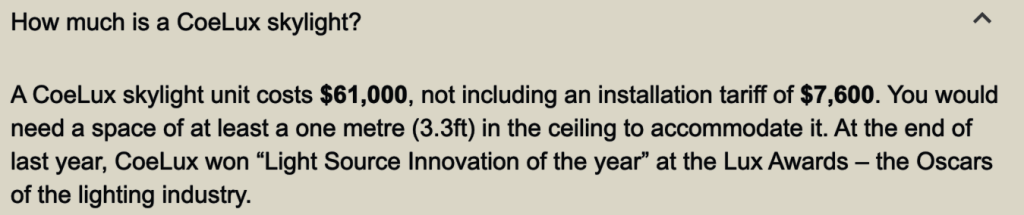
The motivation for this DYI “skylight” is cost: commercial versions of this system are substantially nicer—and 1000x more expensive (Figure 3).
Materials / Build Process:
For prototyping, it’s easy to use a cardboard box (instead of a high-class trash can) with dimensions at least 8″ x 10″ x 20” (it’s also OK if it’s bigger in any dimension). From the outside, this will look like Figure 4.


The specific items in Figure 5:
- A: Extension cord (~$5.00).
- B: Light socket to wall outlet adapter (screw the light bulb into this, then plug it into the extension cord) (~$5.00).
- C: A 3000+ lumen directional floodlight (~$30.00).
- This means a ~30 Watt LED (or “≥250 Watt incandescent-equivalent”) bulb.
- I did not get good results from “corn cob”-style LED bulbs. The widely-spread-out LEDs create a weird and irregular final image.
- D: A cheap plastic magnifying sheet / “Fresnel lens” (~$10). This will be the “light” from the viewer’s perspective, so try to make it at least 8 x 10 inches!
- I cut a hole in the front of the box, then used Scotch tape to attach the lens. Quality workmanship!
I had to move the light bulb back and forth a bit until I found a good focus distance.
Note about burning your house down:
Don’t! Surprisingly, these bulbs are passively cooled (i.e. there’s no fan). A 30W LED should normally not get especially hot, but you should double check this.


Conclusion:
This skylight has turned out to be extremely pleasant in practice! It’s especially convincing if there is still some external light (e.g in the late afternoon / twilight hours).
Psychologically speaking, it’s almost like getting two extra hours of full sunlight every day!
PROS: Only 1% as expensive as a professional “artificial skylight” solution!
CONS: Might also only look 1% as good as a professional “artificial skylight” solution!

You must be logged in to post a comment.